How ceramic coating is applied: the full process
A professional ceramic coating application is about 80% preparation and 20% application. The coating itself goes on in under an hour; everything before it — wash, decontamination, inspection, machine polishing — is what makes the result last and look the way it should. Here's every stage, in order, with honest timings.
New to coatings entirely? Start with our ceramic coating guide.
TL;DR
- Prep (wash → decon → polish) is most of the job; application is the shortest stage.
- Expect the car to be with the installer for a full day at minimum, often two.
- Coating must be applied indoors, clean and dry — never in wind, damp or direct sun.
- Curing time after application is non-negotiable; don't rush the handover.
- The step that matters most is the one you'd never see: the panel wipe before coating.
The process, step by step
1. Initial wash (around an hour)
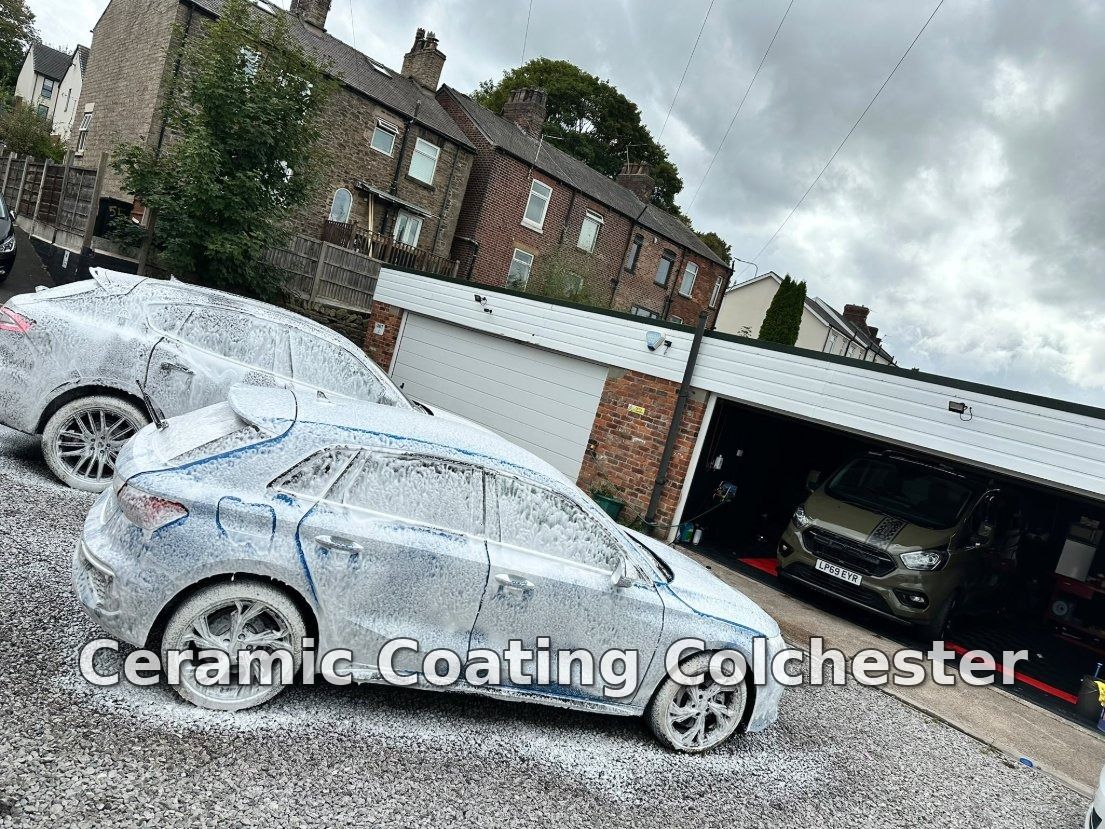
Snow foam to loosen dirt, a two-bucket contact wash, wheels and arches cleaned, then dried properly. The goal is simple: remove everything loose before touching the paint with anything more aggressive. Rushing this stage grinds dirt into the paint during later steps.
2. Chemical decontamination (30–60 minutes)
Iron fallout remover dissolves the tiny iron particles embedded from brake dust and rail/industrial fallout — you'll see it bleed purple as it works. Tar remover follows for sticky road tar. These are sprayed on, left to dwell per the product's instructions, then rinsed. This is contamination you can't see but the coating would fail over.
3. Clay treatment (30–60 minutes)
A clay bar or clay mitt, used with plenty of lubricant, picks up whatever the chemicals left: overspray, tree sap residue, stubborn bonded dirt. The test is touch — properly decontaminated paint feels like glass under your fingertips.
4. Paint inspection (30 minutes)
Under strong, colour-correct lighting, the installer maps the paint's condition: swirl marks, scratches, haze, thin spots, previous repairs. This decides the correction level and confirms the quote. Any installer who skips this is guessing.
5. Machine polishing (several hours — the big one)
The most skilled and time-consuming stage. Using a machine polisher with cutting and finishing compounds, the installer removes swirl marks, haze and fine scratches, levelling the clear coat to maximise gloss and clarity. Depending on condition this ranges from a single enhancement pass to multi-stage correction. This is the paint correction stage in full — and it's where the best installers earn their reputation.
6. Panel wipe (30 minutes, critically important)
Every panel is wiped down with a residue-free panel wipe solution to strip polishing oils. The coating must bond to bare paint, not to leftover oils. Invisible, unglamorous, and absolutely essential.
7. Coating application (30–60 minutes)
Working panel by panel in a set order, the installer applies the coating in thin, even layers — usually with a suede-wrapped applicator block — then levels each section before it flashes. Technique matters enormously here: missed spots and high spots (excess product left too long) are the classic application errors.
8. Levelling check and inspection (30 minutes)
Under lighting again, checking for high spots, streaks or missed edges. Good installers catch these now, while the coating is still workable — not at handover.
9. Curing (hours to a day, undisturbed)
The car sits, untouched, while the coating bonds and hardens. The installer should give you clear guidance: when it can get wet, when it can be washed, and what to avoid in the first days. This isn't optional — it's chemistry.
10. Aftercare handover (15 minutes, lasts years)
You should leave with a wash routine, a list of things to avoid, and a point of contact for questions. The coating's lifespan now depends largely on how it's maintained — which is why this conversation matters.
Workshop honesty: the environment matters
Coating chemistry is fussy about conditions. Ideal application happens indoors: clean air, stable moderate temperature, reasonable humidity, no direct sunlight on panels. Dust landing in a fresh coating, or product flashing too fast on a hot panel, creates defects that are painful to fix.
This is also why we're honest about mobile work. We offer it, and in the right conditions — a clean garage or sheltered driveway on a calm, dry day — it works well. But we won't coat in wind, damp or rain, and we'll reschedule rather than compromise the job. Any mobile installer who won't say the same is one to avoid.
What can go wrong (and how good installers avoid it)
Honesty means admitting the process has failure modes. The classic ones:
- High spots — excess product left too long before levelling, curing into visible streaks or patches. Avoided by working small sections and inspecting under proper lighting; fixed by polishing back and reapplying the panel if caught early.
- Contamination under the coating — dust or fibres landing during application. Avoided by a clean environment and careful technique; there's no shortcut fix, which is why the environment matters so much.
- Poor bonding — coating applied over polishing oils or missed decontamination, leading to premature failure in patches. Avoided by the panel wipe stage, done properly, every panel.
- Curing interrupted — rain, dew or washing too soon after application. Avoided by clear handover guidance and a sensible curing window.
None of these are mysterious, and a professional should be able to explain each one and how they prevent it. If an installer claims nothing ever goes wrong, they've either done very few cars or aren't being straight with you.
How to prepare your car before drop-off
You can make the installer's life easier — and your result better — with a little prep:
- Remove personal items — the car will be worked around thoroughly; clear the boot, cabin and door pockets.
- Don't wash it the day before — counterintuitive, but a fresh layer of whatever shampoo or wax you use can interfere with decontamination. Arrive dirty; it's literally the installer's job to clean it.
- Point out damage — kerbed wheels, existing chips, scratches you're aware of. It helps the inspection and avoids misunderstandings.
- Plan your transport — the car will be with them at least a full day, possibly two. Arrange a lift.
- Ask about curing — know before you collect when the car can get wet and when normal washing resumes.
Who this isn't for
If you need the car back the same afternoon, a professional coating isn't compatible with your schedule — the process can't be safely compressed. If you're hoping to skip the polishing to save money, understand what you're buying: a coating over uncorrected paint preserves the swirls permanently. And if any of this sounds like overkill, a quality sealant applied after a good wash might be the more honest choice for you.
Questions, answered honestly
How long does it take to apply ceramic coating?
Can ceramic coating be applied outside?
Can I drive the car straight after coating?
Why does the paint need machine polishing first?
What is panel wipe and why does it matter?
Get an exact quote for your car
Every car gets the full process above, scoped to what its paintwork actually needs. Tell us about yours for a written quote.
Call 07778 902278 · Request a quote